How to run Apple Diagnostics on Mac

Checking your system on a Mac is an important part of keeping your computer running smoothly. For this, you can use Apple Diagnostics which is a powerful tool for Mac users to help diagnose and troubleshoot hardware issues.
What is Apple Diagnostics?
Apple Diagnostics is a built-in diagnostic tool on macOS that helps users identify hardware issues and troubleshoot problems. It is designed to test and diagnose various hardware components such as the processor, memory, storage, and network connectivity.
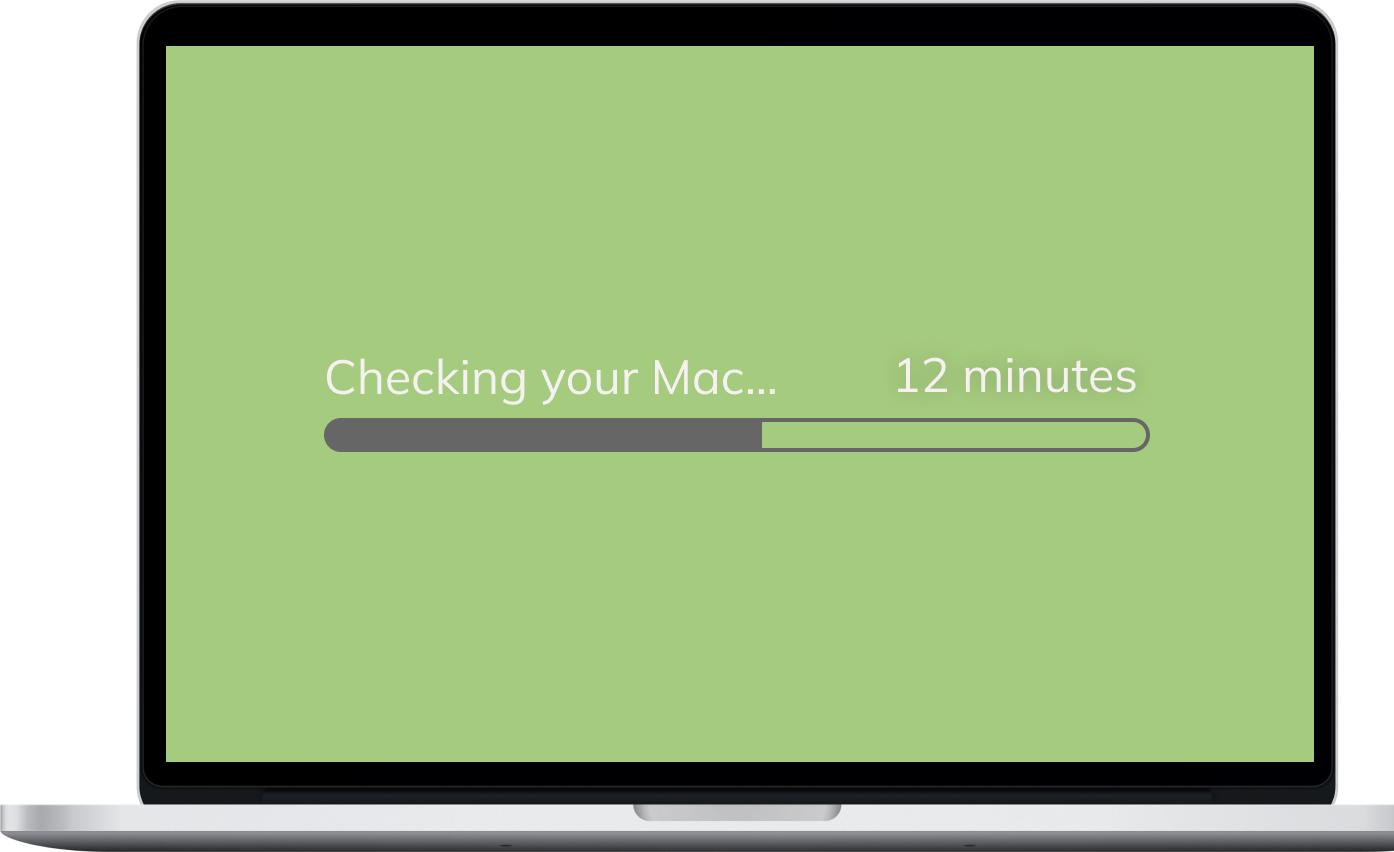
The diagnostic tests typically take a few minutes to complete and will report any issues detected, along with a reference code that you can use to look up more information about the specific problem. If Apple Diagnostics does detect an issue, it’s recommended that you contact Apple support or take your Mac to an authorized service provider for further assistance.
The steps to run Apple Diagnostics depend on which Mac you use: Intel-based or Apple Silicon chip-based. Follow this article to find a guide on how to run a system check on your Mac.
How often should I run a system check on my Mac?
There’s no strict rule for how often you should run a system check on your Mac. However, it’s a good practice to run a system check periodically, especially if you notice any unusual behavior or performance issues with your Mac.
For routine maintenance, you might consider running a system check once every few months or after a major system update. You may also want to run a system check after any major changes to your Mac’s hardware or software configuration, such as upgrading to a new version of macOS.
Additionally, you should consider running a system check immediately if you experience any of the following symptoms:
- Your Mac is running slower than usual.
- Your Mac is freezing or crashing frequently.
- You hear unusual noises from your Mac’s hard drive or fans.
- You notice any other unusual behavior or error messages.
In general, running a system check is a good way to help keep your Mac running smoothly and catch any potential issues before they become major problems.
How to take care of Mac and prevent any system issues
Taking care of your Mac computer is essential to ensure that it runs smoothly and lasts a long time. Here are some tips to help you maintain your Mac:
- Regularly clean up your Mac from caches and other junk files, like apps remaining files, duplicates, unused extensions, etc. You can easily and quickly clean up your Mac and optimize its performance with MacCleaner Pro.
MacCleaner Pro is a 6-in-1 bundle of apps that can help you easily and quickly find and remove all junk files, analyze disk space usage, uninstall unused apps, find and remove duplicate files, find memory-consuming apps, and more. You can download a free trial and check and start maintaining your Mac right now.
- Update regularly: Apple releases updates for its operating system and applications regularly. Keep your Mac up-to-date to ensure it has the latest features and security patches.
- Backup your data: Use Time Machine or another backup solution to regularly backup your important files and documents in case of a system failure.
- Avoid downloading unauthorized software: Downloading unauthorized software can lead to viruses and other security threats that can harm your Mac. Stick to downloading from reputable sources.

By following these tips, you can help ensure that your Mac runs smoothly and lasts a long time.
How to run Apple Diagnostics on Intel Macs?
To check the hardware components of your Intel Mac for any issues or errors, follow these steps:
- Shut down your Mac.
- Turn on your Mac and immediately press and hold the D key on your keyboard.
Keep holding the D key until the Apple Diagnostics screen appears. - Select your language and click to continue.
- The tool will run a series of tests on your Mac’s hardware components, such as the logic board, memory, and storage.
- When the test is complete, the results will appear on your screen. If any issues are detected, the tool will provide a reference code to help you identify the problem.
- Make a note of the reference code and contact Apple Support for further assistance.
- If no issues are detected, you can restart your Mac by pressing the Power button.
How to run Apple Diagnostics on M1 and M2 Macs?
The process for using Apple Diagnostics on M1 and M2 chip Macs is similar to that of previous models, but there are some differences. Here are the steps:
- Shut down your Mac.
- Press and hold the power button. Keep holding until you see the startup options window.
- Select the gear icon labeled “Options”, then click on “Continue”.
- Click on “Apple Diagnostics” and then click on “Continue”.
- Apple Hardware Test will run a series of tests on your M1 Mac’s hardware components, such as the logic board, memory, and storage.
- When the test is complete, the results will appear on the screen.
If any issues are detected, the tool will provide a reference code to help you identify the problem. If no issues are detected, you can reboot your Mac by pressing the Power button.
That’s it! Running Apple Diagnostics is a quick and easy way to check the hardware components of your Intel Mac and ensure that they are functioning properly.
